UI elements
Every button and control, what it does, and how to use it.
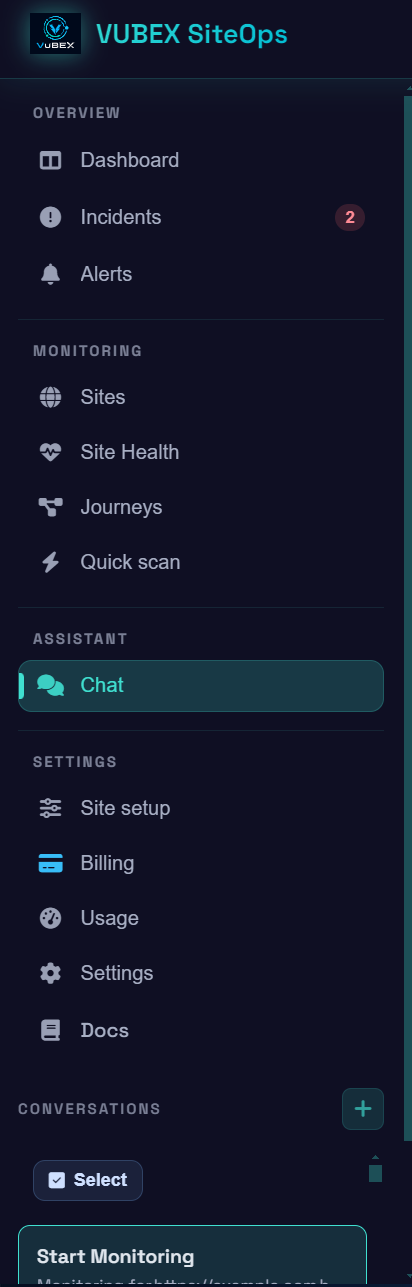
Sidebar
💬 Chat
- Location: Left sidebar, top.
- Function: Opens the AI assistant - the main way to interact with SiteOps by conversation.
- How to use: Type a question or command (e.g. "how's my site doing?"). The SiteOps skill is on by default. See Using the AI assistant.
🛡️ Live dashboard
- Location: Left sidebar.
- Function: Your monitoring overview - the place to view everything: per-site health, uptime, success rate, response times, and open incidents.
- How to use: Watch status at a glance; click an incident to see evidence and get AI help. This is the read/monitor screen; you change settings in Settings.
🗺️ Journeys
- Location: Left sidebar.
- Function: Opens the Journey page for a site - where you build, save, and schedule real multi-step flows (checkout, login, signup, booking, contact form) that SiteOps replays in a real browser and monitors around the clock, flagging the exact failing step with a screenshot.
- How to use: Pick a site, then Build with AI or Suggest journeys for my site. Full guide: User journeys.
⚙️ Settings
- Location: Left sidebar.
- Function: The place to configure everything by hand - monitoring, notifications, status page, usage, and billing.
- How to use: Open it and use the sections below. Everything here is also doable by asking the AI.
📖 Docs
- Location: Left sidebar (bottom).
- Function: Opens this documentation in a new tab.
Chat area
SiteOps skill chip
- Location: Above the message box.
- Function: Shows the SiteOps assistant is active. It's on by default.
- How to use: Leave it on for monitoring help. Click × to turn it off for a plain chat.
Attach codebase (📎)
- Location: In the message box.
- Function: Attach a GitHub repo (or codebase) so the AI can read and, with your confirmation, fix code behind an incident.
- How to use: Attach the repo, then ask - the AI gets both monitoring and code tools at once.
Send / Stop button
- Location: Right of the message box.
- Function: Sends your message; turns into Stop while the AI is working so you can cancel.
Dashboard
Add site
- Location: Dashboard.
- Function: Start monitoring a new URL.
- How to use: Click, enter the URL and check frequency - or just tell the AI
start monitoring example.comand confirm.
Run check now
- Function: Queues an immediate scan of a site.
- How to use: Click on a site, or ask the AI
run a check on my site now. Rate-limited.
Explain with AI / Fix with AI (on an incident)
- Location: Inside an incident.
- Function: Explain = read-only root-cause analysis, with web research and page inspection. Fix = proposes a code change (repo required) that you must confirm before it's applied.
- How to use: Open an incident → choose the button → read the AI's analysis or review and confirm the proposed fix.
Resolve / Reopen incident
- Function: Mark an incident handled (Resolve) or recurring (Reopen).
Journey page
The controls for building and monitoring user journeys - the real multi-step flows that make you money. Open it from the Journeys sidebar entry, then pick a site.
Build with AI
- Location: Journey page, top of the builder.
- Function: Builds a journey from a plain-English description. The AI opens your site, reads the real buttons, links, dropdowns and fields, and assembles the steps from what actually exists - so it can never invent a step your site does not have.
- How to use: Describe the flow at intent level ("send an enquiry through the contact form"), not as a click-script, then click Build with AI and watch it build live with screenshots. Builds auto-save.
Suggest journeys for my site
- Location: Journey page.
- Function: The AI crawls your site live and returns the 3-4 journeys that matter most, ranked (most valuable first) as plain-English prompts. On an auth-gated site with a saved login, it can also suggest flows inside your app.
- How to use: Click it, read the suggestions, then click Use this on any one to drop it straight into Build with AI.
Requires login
- Location: Journey page, journey settings.
- Function: Lets a journey monitor flows behind sign-in. You set up an encrypted test account (login URL, email, password, and an optional 2FA authenticator seed). Credentials go only to the browser that signs in, never to the AI. SiteOps reuses the saved signed-in session and re-signs-in automatically when it expires.
- How to use: Turn on Requires login, then set up / verify login with the test account. Turning it off asks what to do with the saved account: Disable only (keep it, stop signing in), Change (enter a new account), or Remove (wipe the credentials and session).
Test values
- Location: Journey page, journey settings.
- Function: The reusable values a journey's Fill steps draw from (e.g. name, email) so replays type consistent, safe test data. Steps can reference them with tokens like
{{email}}or dynamic ones like{{today+7}}. - How to use: Set the values once; the fill steps use them on every run.
Run every
- Location: Journey page, journey settings.
- Function: The journey's cadence - how often it replays. You can go as fast as your plan allows or slower to save runs; the value is clamped to your plan's floor and a sensible default is chosen for you.
- How to use: Pick an interval. Faster journey checks are the main reason to upgrade.
Add a step
- Location: Journey page, step composer.
- Function: Adds, removes, reorders, or edits steps by hand after a build. Step types: Click, Fill, Select, Wait, Check (assert success), Checkout (walk a shop/booking funnel to the payment screen and stop), Answer a multi-step form, and Stop.
- How to use: Use it to tweak the AI's build; see the full step table in User journeys.
"Actually send this form for real" (toggle)
- Location: On any send-looking step in the composer.
- Function: Controls whether a form is truly submitted. Off by default - SiteOps fills the form and confirms the submit is ready but does not send it, so monitoring never spams a real enquiry, booking, or signup. Turning it on submits for real (use only on your own site). Login and search always submit; payment/booking commits are never clicked.
- How to use: Flip it on for a step you want really sent. When a build ends on a send step, SiteOps asks you a clear yes/no first - it never turns real submission on silently.
Verify & Save / Save without testing
- Location: Journey page, bottom of the builder.
- Function: Verify & Save runs the journey once to prove it works, then turns on around-the-clock monitoring. Save without testing stores it without the trial run - it is kept but capped at warning severity until it passes once, so an unproven journey cannot page you.
- How to use: Use Verify & Save normally; use Save without testing when you just want to keep a draft.
Apply suggested fix (on a journey incident)
- Location: Inside a journey incident, when a control was renamed or moved.
- Function: A one-click fix grounded in the controls actually on the live page now. It re-points the step and re-runs to confirm - if the fix works the incident resolves; if not, it re-opens. This is separate from Fix with AI (which repairs real code bugs).
- How to use: Open the incident and click Apply suggested fix. (Many edits self-heal with no incident at all when a control still leads to the same destination.)
Settings
Open Settings from the sidebar. It's organized into sections:
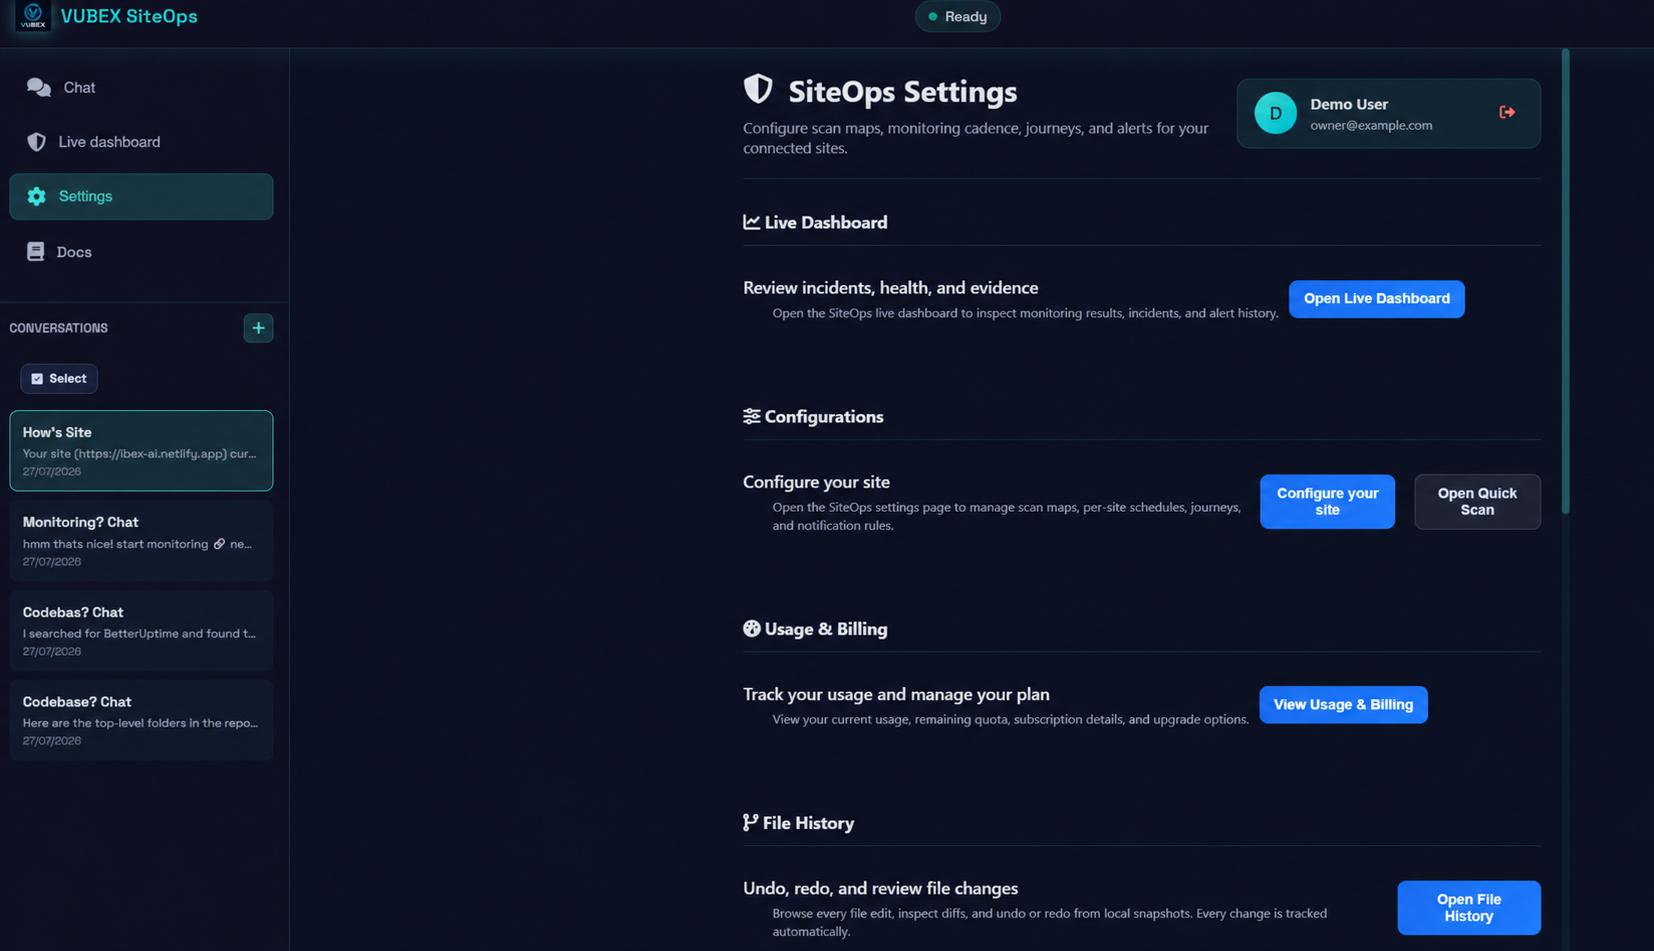
Active Site
- Function: Choose which of your sites the settings below apply to. Switch here to configure a different site.
Monitoring
- Function: Turn monitoring on/off and pause/resume checks for the active site.
Uptime Checks
- Function: Set check frequency, failures-before-alert, alert cooldown, and business hours. Values are clamped to your plan.
Site Health Scan Configuration + Scheduled Site Health Scans
- Function: Choose the site health scan mode (off / weekly / daily / interval) and when site health scans run. Use Map my site to build the scan map they crawl. See Monitoring.
Notifications
- Function: Email, Slack, and Discord alerts; recovery notices; weekly report. See Alerts.
Public status page
- Function: Enable and name a public status page at a slug your users can visit.
Usage
- Function: Your Usage Overview - AI credits used and remaining this month, plus monitoring usage (runs, sites). This is where you check how much of your plan you've used. See Plans & AI credits.
Billing / Upgrade
- Function: See your plan and upgrade for more sites, faster checks, and more AI credits. See Plans & AI credits.
Next: how usage and credits work - Plans & AI credits.